Learn how to create a surface pattern collection from start to finish. This step by step guide walks through finding inspiration, sketching motifs, and building cohesive designs for fabric, wallpaper, and licensing.
From Memory to Collection: How to Create a Pattern Collection from Scratch
When I begin a collection, I don’t start with trends or what I think will sell (though it can be helpful to consider).
I start with a memory.
A family trip.
A hike through the Smoky Mountains.
A quilt my nana made.
The feeling of walking through a farmers market.
A slow boat day with our babies.
Because those moments already hold something real.
A feeling, a story, something worth keeping.
And that is what gives a collection depth.
Instead of creating from pressure, I create from connection. Here is the exact process I use to turn a memory into a cohesive pattern collection.
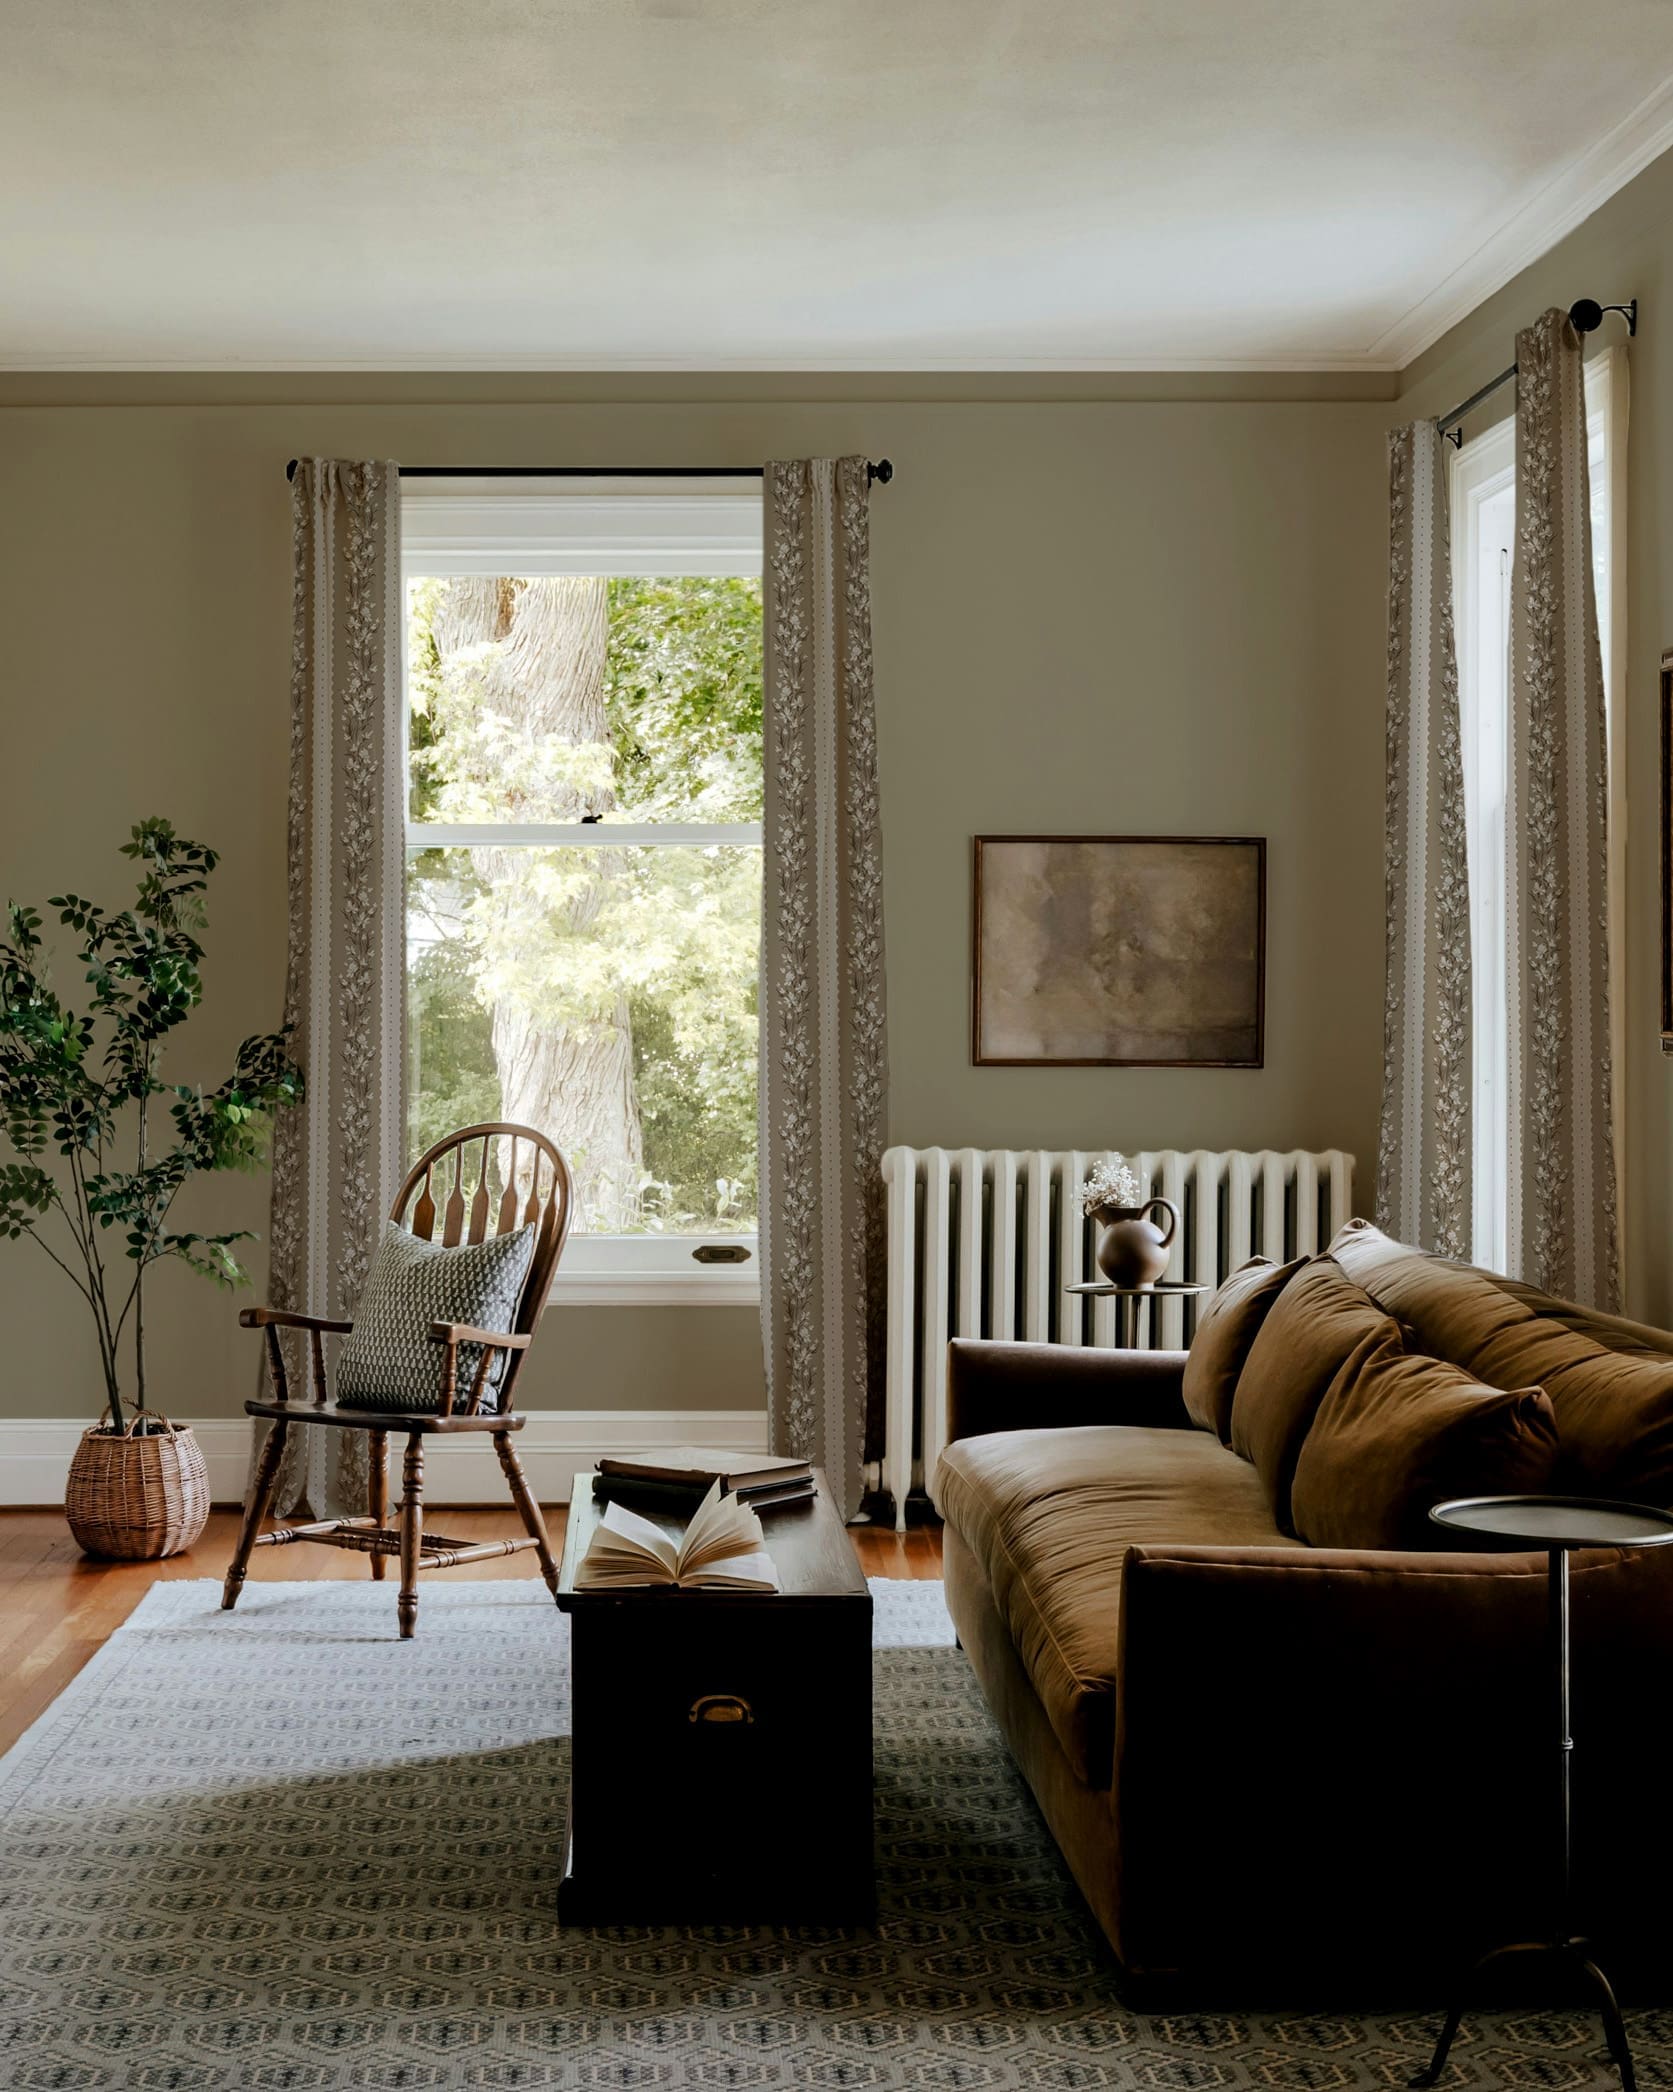
1. Start with the end in mind
Before I ever paint, I ask:
Where do I want this collection to live?
Fabric
Wallpaper
Home goods
Stationery
Then I choose the idea that both excites me and aligns with that product.
This step matters more than most people realize.
A soft, detailed floral may be perfect for stationery, while a larger, more open design might be better suited for wallpaper or fabric.
Let the final product guide your starting point.
2. Turn the memory into words
Once I have my direction, I write.
Not perfectly. Just freely.
For example, when I think about a hike in the Smoky Mountains, my words might look like this:
alive
wild green
ferns
foliage
birds
florals
stream
moss
quiet
peaceful
grounded
present
These words become the emotional foundation of the collection.
They guide your color palette, motif choices, and the overall feeling of the work.
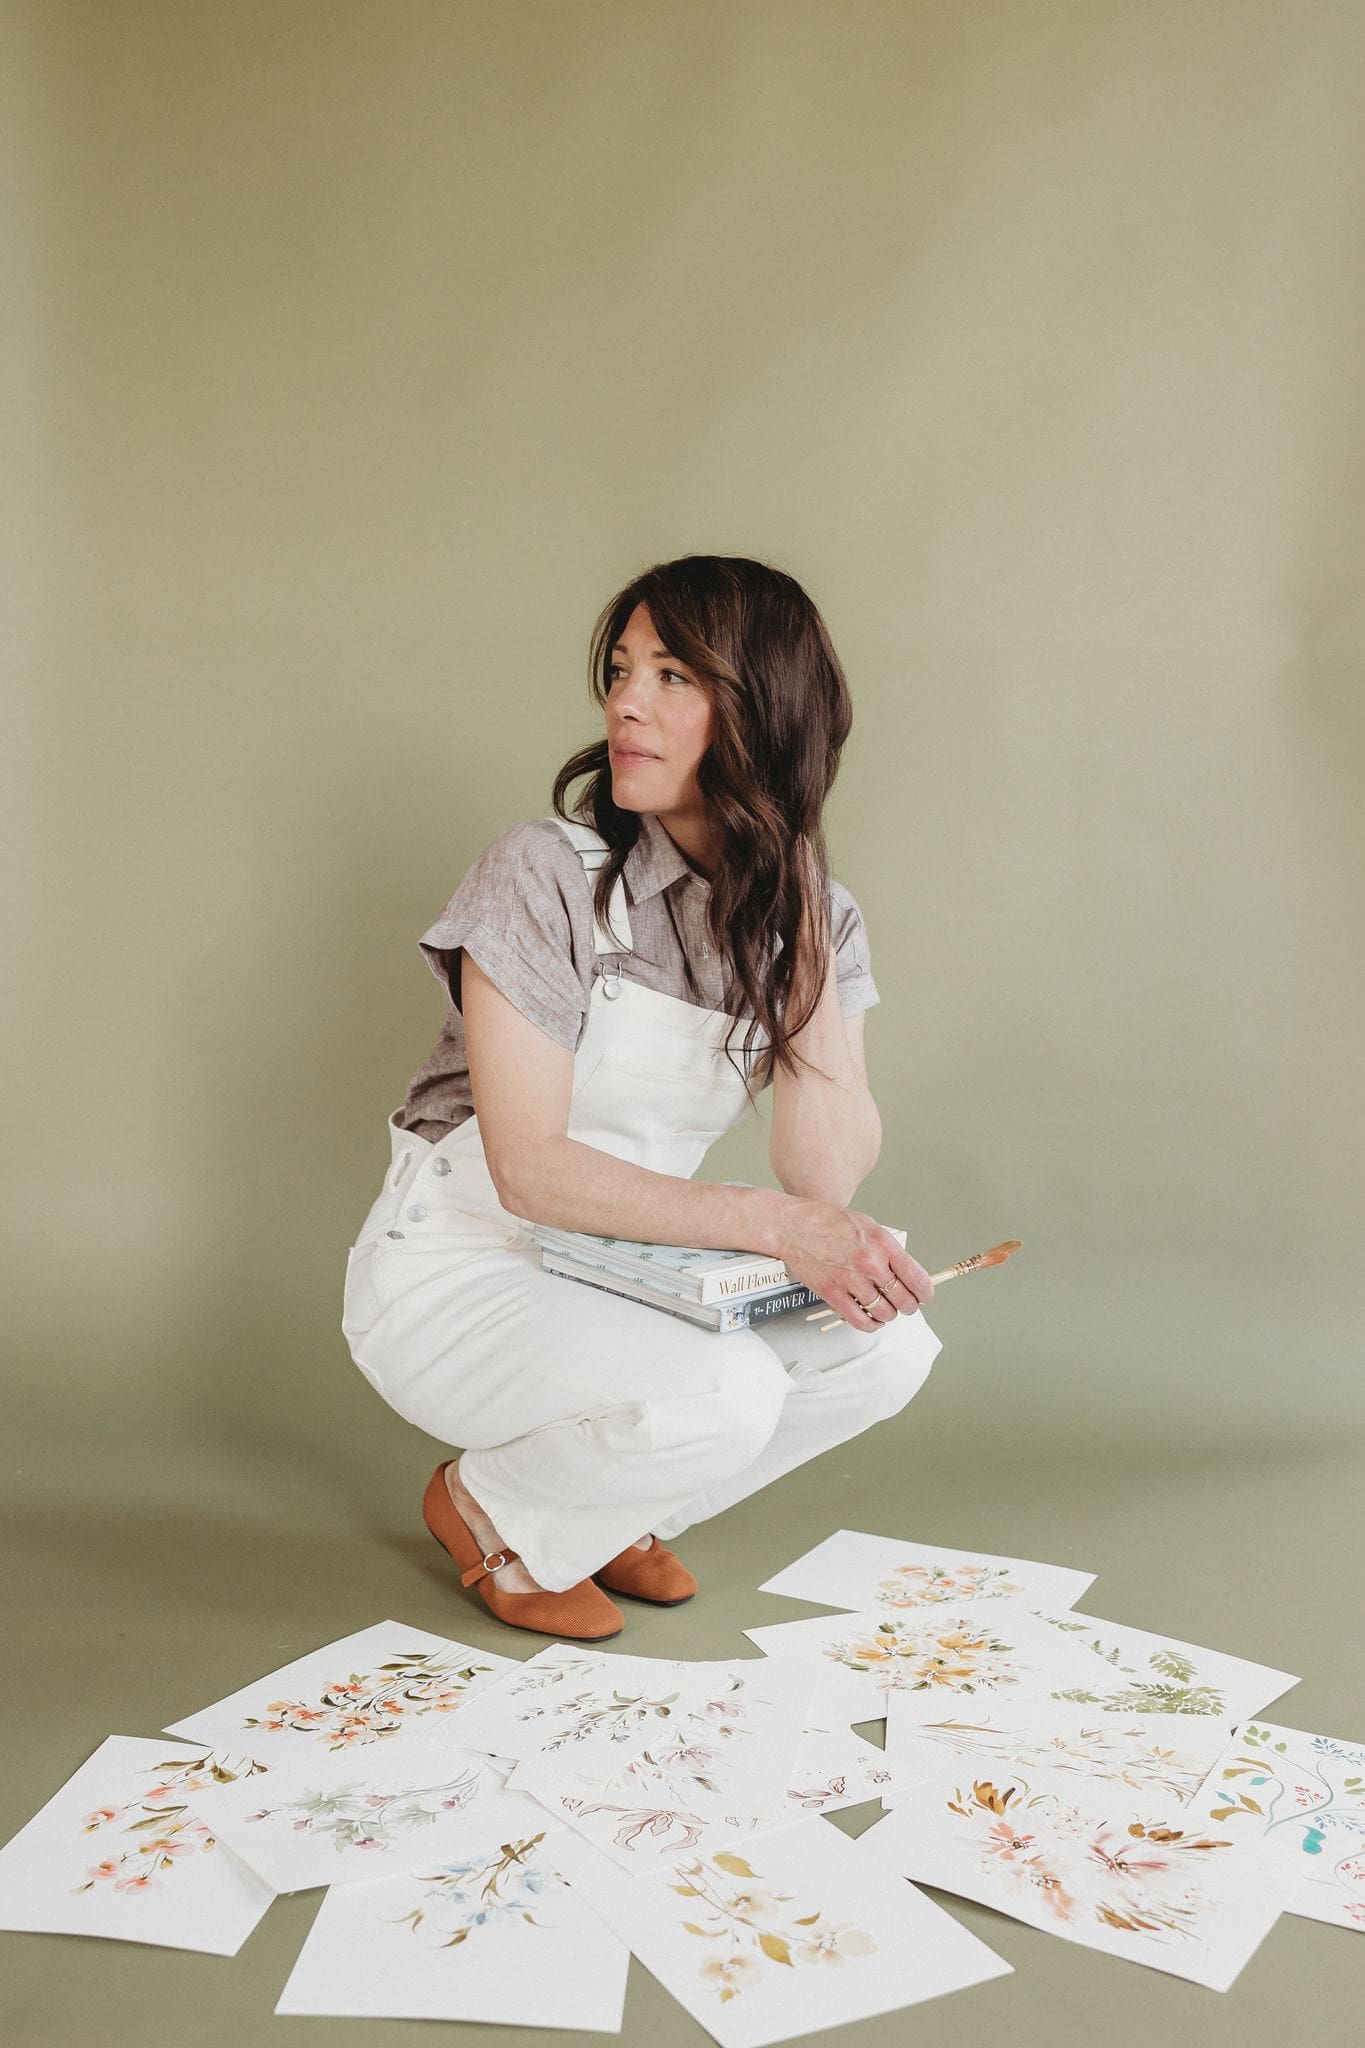
3. Sketch the story before you create
Before I move into final artwork, I sketch small.
Usually 6 to 9 quick squares of pattern ideas.
The first design becomes the hero. It sets the tone for everything that follows.
From there, I begin building:
supporting coordinates
simple blenders
variations that feel connected
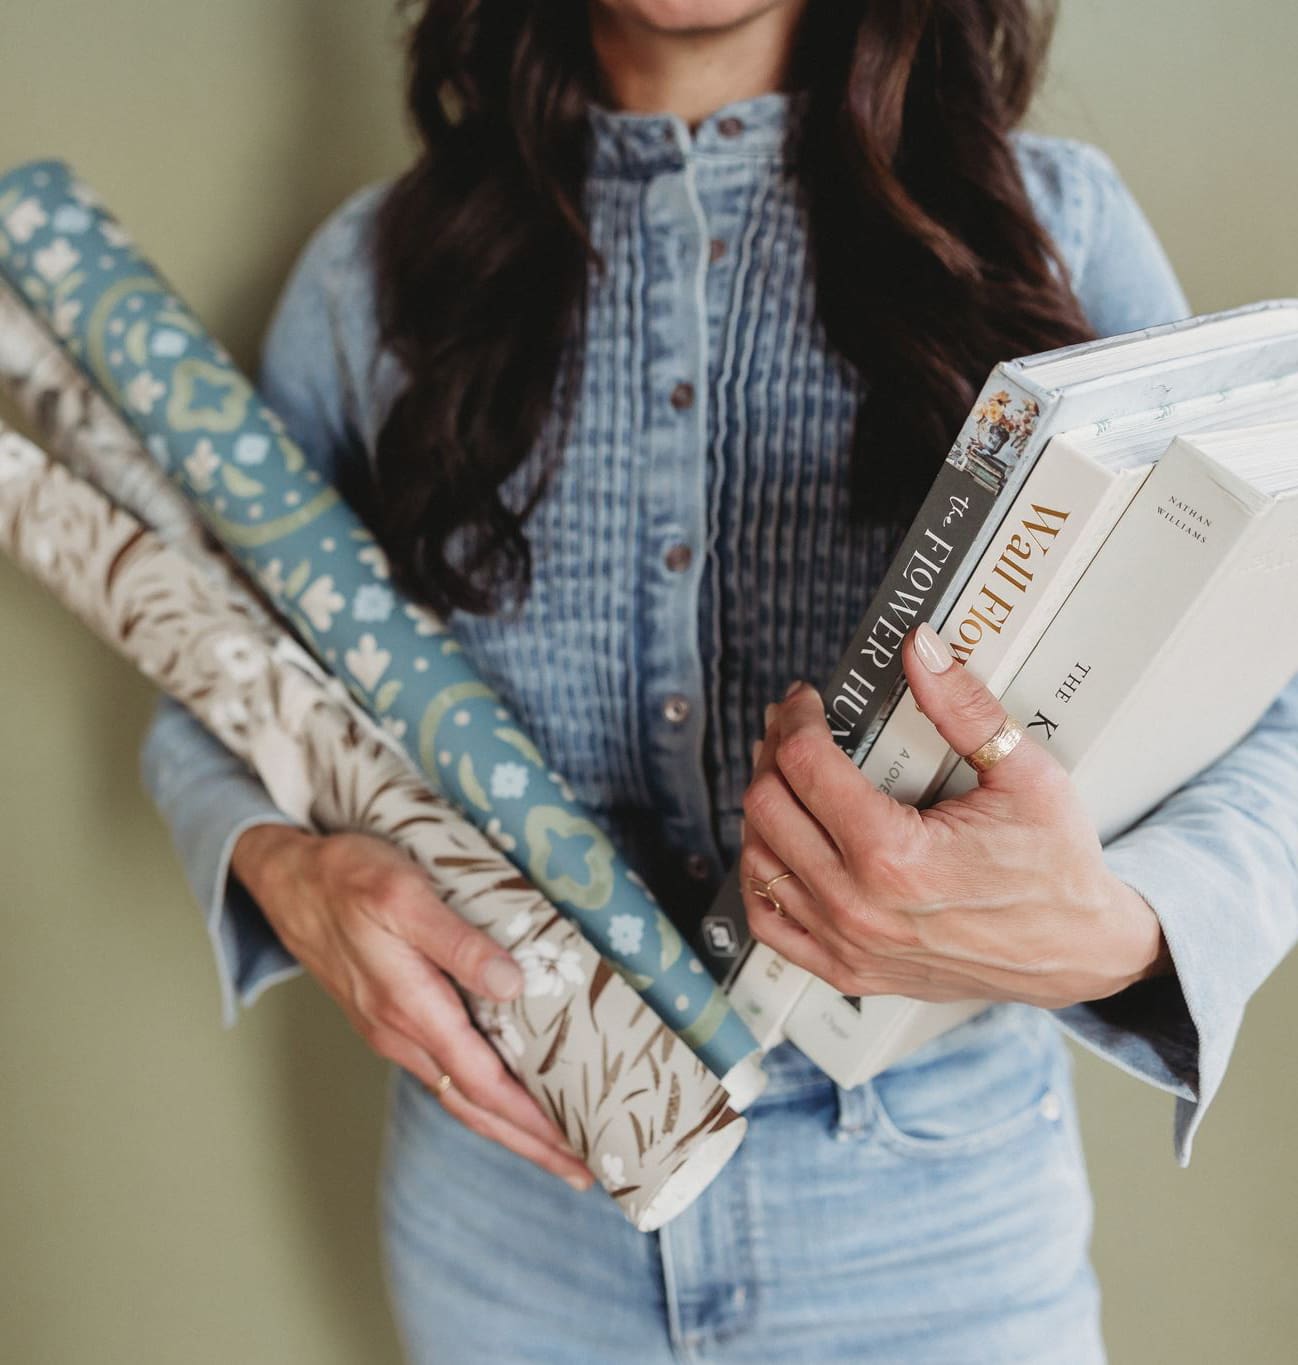
I also gather visual references during this stage from books, Google, and Pinterest. Not to copy, but to deepen the direction.
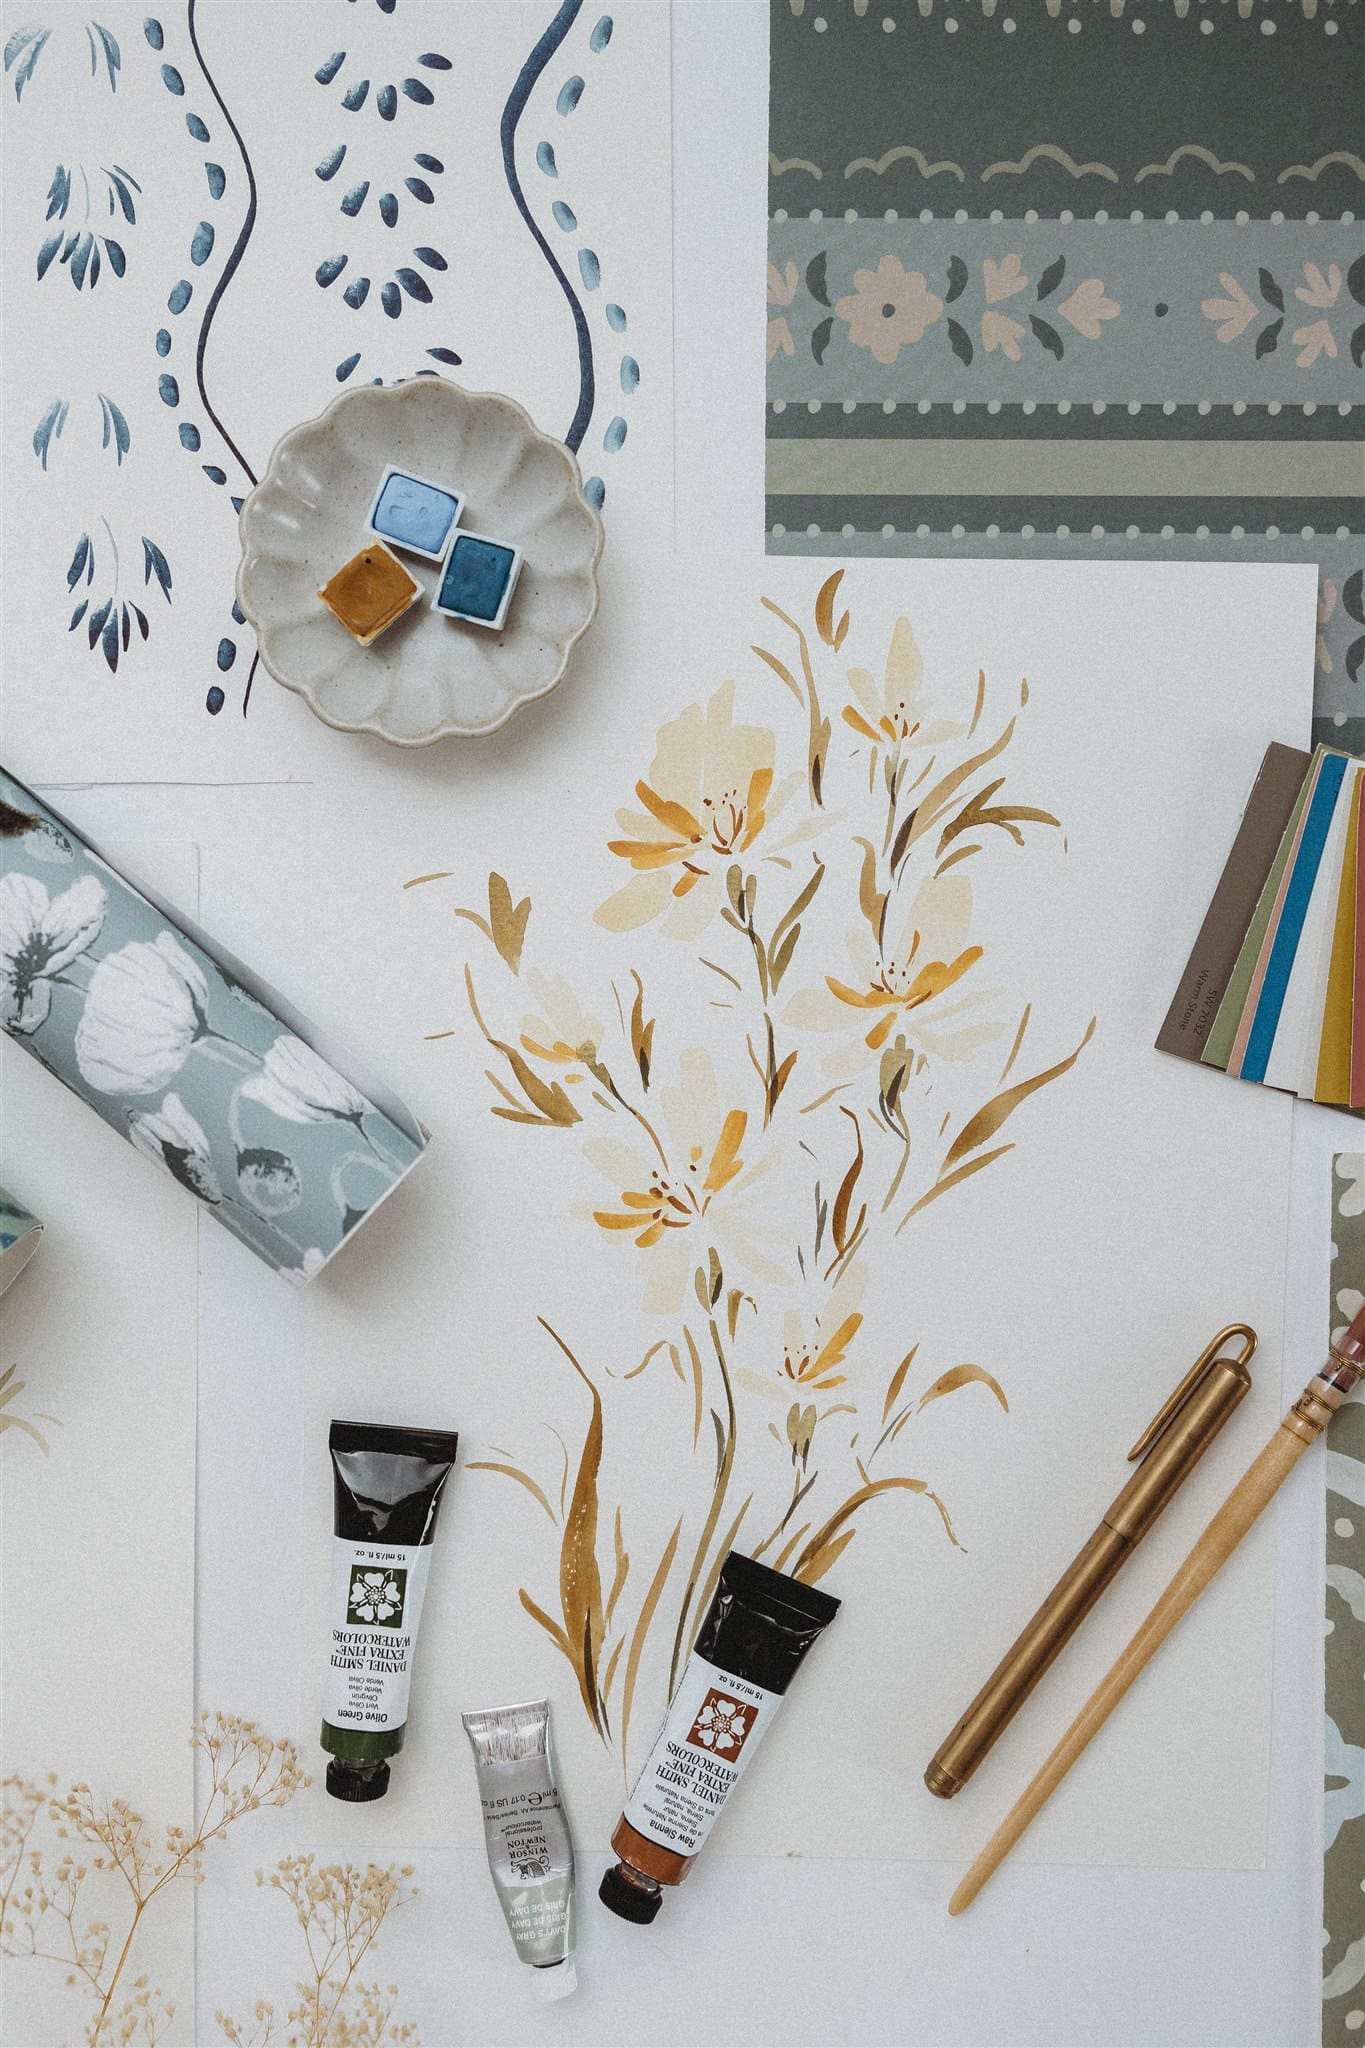
4. Create with intention
Then I begin painting.
I choose my medium based on where the artwork will live:
Watercolor for softness and flow
Gouache for richness
Ink for detail and contrast
I create a range of motifs while thinking ahead:
How will these work in a pattern?
Will I want to recolor them?
What scale do I need?
5. Digitize and build the collection
From there, my process becomes technical but consistent:
Scan artwork using my Epson scanner
Open in Photoshop to clean backgrounds, adjust color, and refine details
Save and bring into Illustrator for pattern building
If I want flexibility with color, I build in Illustrator.
If not, I may stay in Photoshop.
Illustrator allows me to:
easily recolor
create multiple color stories
expand the collection with variation
A final note
Creating a collection is not about starting from nothing.
It is about starting from something that already means something to you.
A moment.
A place.
A feeling.
An heirloom.
Then shaping it, step by step, into something that can live in the world.
Observe.
Create.
Share.
Let this rhythm guide you.

p.s. Want weekly encouragement, creative tips and resources like a custom monthly mockups? Join Studio Notes Here🤎
More posts like this:
What My Strawberry Shortcake Quilt Taught Me About Strong Pattern Collections